From AEM 6.2, personalization is built on experiences, activities and ContextHub. Here is how to set up and test a basic personalization.
The steps
- Add and configure ContextHub segments.
- Create a brand and an activity for it. Select ContextHub as the engine and create the activity's experiences from the new segments.
- Add targets and the relevant personalization components for each experience.
- Configure the targeted component to use ContextHub as its engine.
Creating a personalized component on the Geometrixx site
Open a Geometrixx Outdoors page and switch to Targeting mode. By default the brand is set to Geometrixx Outdoors.

To create an activity for the selected brand, click the + symbol. In the new activity form, enter a name (for example, My Target) and select the targeting engine. ContextHub uses our own segmentation from AEM; an Adobe Target configuration can be used instead.
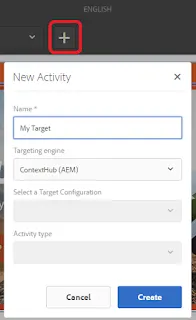
Once the activity is created, select it.

In Targeting mode, click Start Targeting. A default experience is always enabled; add a new one with + Add Experience Targeting.
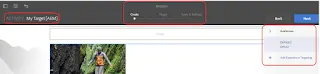
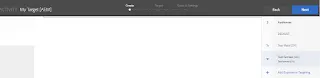
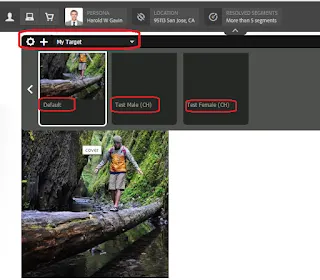
Select the ContextHub segments you created. Here we have one male segment (Test Male CH) and one female segment (Test Female CH) as experiences.
Author an image component in an empty area of the page.
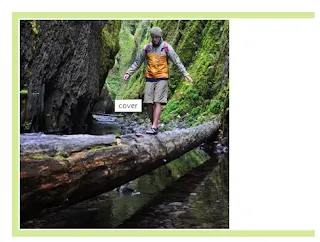
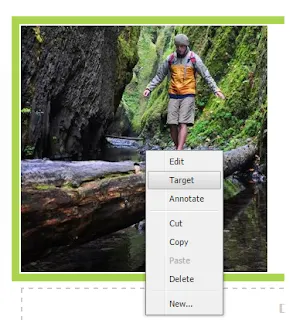
Right-click it and select Target to enable the component for targeting.
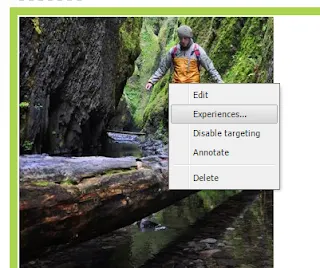
Right-click again and select Experiences.
Select My Target and all configured experiences appear. Any that are not needed can be disabled.
Go back to Targeting mode, start targeting, select the component and the experience to update, and click Add Offer.
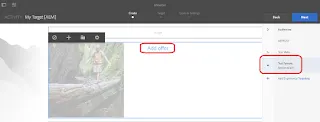
Select the image to show for that experience. Click Next through Create, Target and Goals & Settings, and save.

The targeting configuration is done.
Testing the configuration
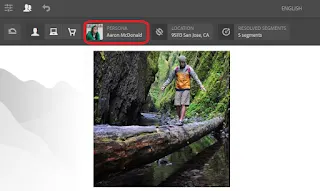
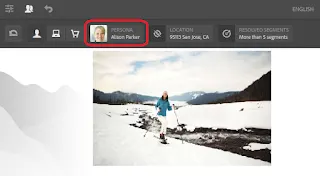
Click Preview, open the persona selector and switch between the male and female users.

With the male persona selected:
With the female persona selected:
Personas and geolocation changes can also be tested with ClientContext on older AEM versions.